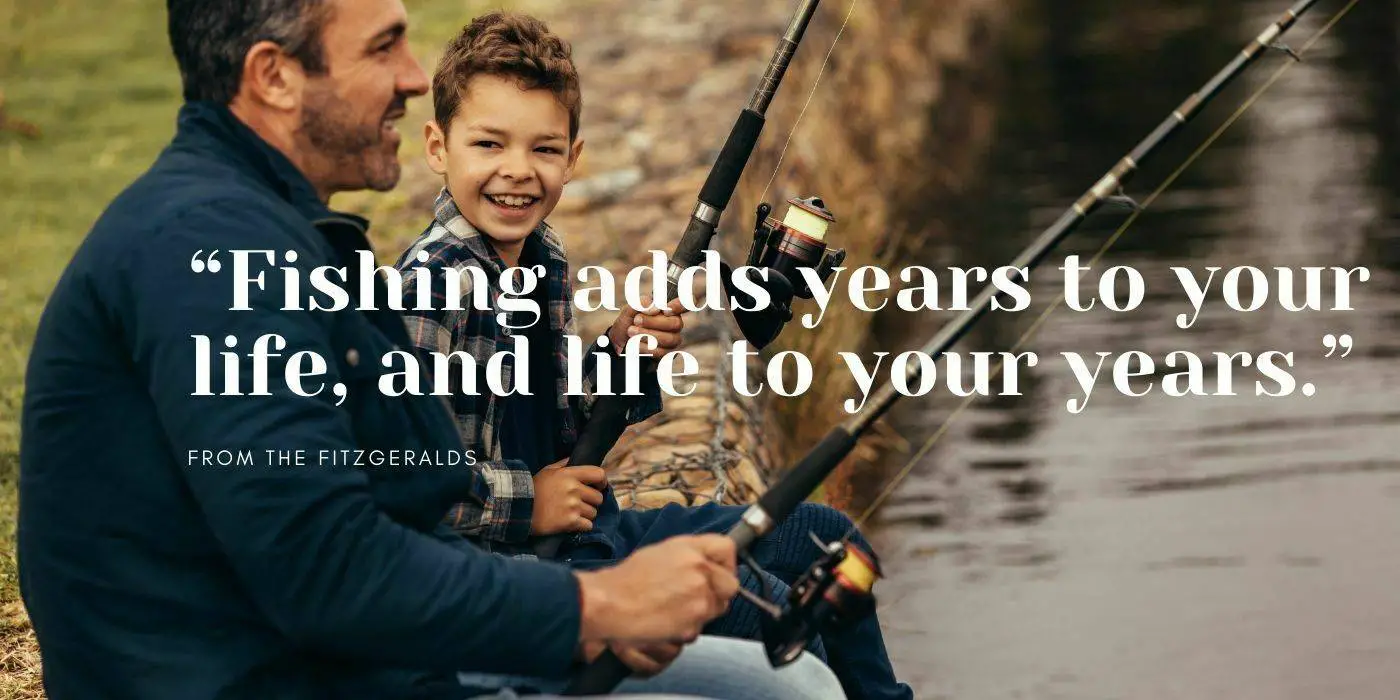
Ever had one of those moments where setting up a fishing rod seems like a task as daunting as scaling Mount Everest? You’re in good company! It’s not just novices who can feel bamboozled, seasoned anglers too often find it tricky handling all those little components.
But worry no more! This blog post is about to bring that mountain right down to sea level with an easy-to-follow guide. Drawing from expert wisdom and lessons learned the hard way, we’ve demystified the process for you.
So hang tight; mastering the art of setting up a fishing rod is more within reach than you’d ever imagined!
Key Takeaways
- Cleaning your fishing rod and reel before use is important for optimal performance.
- Understanding the different parts of your fishing rod, such as guides and handles, is crucial for setting it up correctly.
- Connecting your reel to the rod requires following specific steps to ensure a secure attachment.
- Spooling your reel properly with fishing line helps prevent tangles and ensures smooth casting.
- Threading your fishing pole involves stringing the line through the guides and using secure knots to attach it to the reel.
- Learning essential knots like the arbor knot, clinch knot, and Palomar knot is necessary for proper setup of your fishing gear.
- Adjusting the drag knob on your reel gives you more control when fighting a fish.
- Choosing the right lure based on target fish species increases your chances of success in catching fish.
- Attaching a lure requires using a three – way swivel for added durability. Adding a sinker and leader helps control depth in water.
Assembling Your Rod and Reel

To assemble your rod and reel, start by cleaning both thoroughly to remove any dirt or debris. Next, familiarize yourself with the important parts of the rod and reel, such as the guides and handle.
Connect the reel to the rod using the appropriate attachment method specified by your equipment. Finally, spool the reel with fishing line, making sure to follow any instructions provided by the manufacturer for proper tension and alignment.
Cleaning the rod and reel
A clean rod and reel can make a big difference. First, take off any dirt or sand from the rod with a soft cloth. Use warm water if the dirt won’t go away. Don’t forget to dry it well after that.
For the reel, unscrew the seat and place aside the reel foot. Wipe all parts of it with a wet cloth and then dry them too. A clean rod and reel will work better when you fish.
Understanding the important parts
To set up a fishing rod, first, you need to know all the parts. The rod has guides or eyelets for threading the line. Take care to start from the one closest to the reel. You also have to watch out for the rod’s handle and reel “stem”.
These are key when casting your line with an open-bail spinning reel if you’re new at this. Now, look at your fishing line. It’s important that its weight matches what’s suggested on your rod.
This is called matching line rating and helps keep everything balanced while you fish!
Connecting the reel to the rod
Let’s dive into how to connect the reel to your rod. Here are some simple steps:
- First, be sure you have a clean rod and reel.
- Now, hold your fishing rod in front of you. The reel seat will be either at the base or in the middle.
- To add your reel, unscrew the reel seat on the fishing rod.
- Slide the foot of your fishing reel into it.
- Tighten up the screws again until it feels firm but not too tight – you don’t want to damage your fishing gear!
- Make sure that the line guide on the reel is lined up with all of those guides on your rod.
- Open the bail (that’s part of your spinning reel). This is where understanding important parts come handy!
- Thread your fishing line starting from the eyelet that’s closest to the real, as shared in our key facts.
Spooling the reel
Spooling the reel is an important step in setting up your fishing rod correctly. Here’s how to do it:
- Open the bail: Make sure the bail is open so that you can easily thread the line through.
- Place the line around the reel once: Take the end of your fishing line and wrap it around the spool or arbor of your reel.
- Tie a standard knot: Use an overhand knot or any other knot that you are comfortable with to secure the line to the spool.
- Adjust the position: Ensure that your rod is positioned correctly and that there is enough tension on the line as you spool it onto the reel.
- Load new fishing line: Slowly turn the handle of your reel to start spooling on new fishing line. Make sure it is evenly distributed across the spool.
Threading Your Fishing Pole

Threading your fishing pole involves stringing the rod and tying necessary knots like the arbor knot, clinch knot, and Palomar knot. Learn these essential steps to ensure proper setup of your fishing gear.
Read on to find out how!
Stringing the rod
To string your fishing pole correctly, follow these steps:
- Start at the guide closest to the handle.
- Run the line through each of the remaining guides.
- Make sure the line is properly aligned and doesn’t get tangled.
- Use a fishing line that matches the suggested line rating for better performance.
- Tie the line to the reel using a secure knot to prevent slippage.
- Make sure to find the reel seat on your rod and open it up to attach your reel.
Tying necessary knots (arbor knot, clinch knot, Palomar knot)
When setting up your fishing rod correctly, it’s important to know and master the necessary knots. These knots ensure a secure connection between your line, reel, and other fishing equipment. Here are some essential knots for threading your fishing pole:
- Arbor Knot: This knot is ideal for creating a strong connection between your reel and fishing line, especially if you’re using a spinning reel.
- Improved Clinch Knot: The improved clinch knot is another important knot to learn and practice. It provides a secure attachment between the line and the lure or hook.
- Palomar Knot: The Palomar knot is known for its strength and reliability. It’s particularly useful when attaching heavy lures or hooks.
Setting the drag knob
The drag knob on your fishing reel is really important because it helps you control the tension on your fishing line. When you’re using a spinning reel, you can find the front drag adjustment button on top of the spool.
To tighten the drag and make it harder for a fish to pull out line, turn the adjustment button clockwise. If you want to loosen the drag and make it easier for a fish to take some line, turn the adjustment button counterclockwise.
Remember, adjusting the drag knob gives you more control when fighting a fish so that you don’t break your line or lose your catch!
Choosing the Right Lure
Choosing the right lure is essential for successful fishing. To do this, first identify the target fish species in your area and consider the fishing location. Different types of fish are attracted to different lures, so tailoring your choice to specific fish types increases your chances of success.
Once you’ve selected the appropriate lure, attach it directly to your line using a knot like the clinch knot or Palomar knot. This is especially important when using jigs. Remember to invest in a beginner’s rod and reel, as well as a hook, line, and some kind of bait or lure.
By following these steps, you’ll be on your way to setting up your fishing rod correctly and increasing your chances of catching that big one!
Attaching a Lure
To attach a lure to your fishing rod, first, use a three-way swivel for added durability and versatility. Then, add a sinker and leader to help control the depth at which your lure will swim.
How to use a three-way swivel
Using a three-way swivel can help you attach a lure when setting up your fishing rod correctly. Here’s how to use a three-way swivel:
- Tie the swivel onto your main fishing line using a strong knot, like the improved clinch knot.
- The swivel has three eyes – one is for attaching the main line, and the other two are for attaching leader lines and lures.
- Attach the main line to one of the swivel’s eyes.
- Attach your leader lines and lures to the other two eyes.
- Make sure that the swivel is securely attached to prevent it from coming loose during fishing.
Adding a sinker and leader
Adding a sinker and leader is important in fishing because it helps to weigh down the bait or lure and keeps it in the water. Here are the steps to add a sinker and leader to your fishing line:
- Tie the leader to the mainline: Use an appropriate knot (such as an arbor knot or clinch knot) to tie the end of the leader line to your mainline.
- Attach the sinker: Slide a suitable sinker onto the mainline above the knot connecting the leader. The weight of the sinker should be chosen based on your fishing conditions and target fish species.
- Tie another knot: Tie another knot below the sinker to secure it in place. Make sure it is tight enough so that it doesn’t slide up and down your line while fishing.
Tips for Success
Practice tying knots regularly to improve your skills and ensure they don’t come undone while fishing. Experiment with different types of knots to find the ones that work best for you.
Take the time to maintain your fishing gear properly, as well-kept equipment will last longer and perform better on your fishing adventures.
Practicing knot tying
Mastering the art of knot tying is crucial for success in fishing. As an angler, I have learned some helpful tips and tricks that can improve your knot tying skills. Here are some ways you can practice and become proficient in tying fishing knots:
- Start by using larger ropes or strings to practice the different types of knots. This will help you get comfortable with the techniques before moving on to smaller fishing lines.
- Take your time when tying knots and make sure each loop is formed correctly. Rushing can lead to sloppy knots that may not hold when you’re out on the water.
- Explore different types of knots and learn when it’s appropriate to use each one. For example, the Palomar knot is great for securing hooks or lures, while the clinch knot works well for attaching line to swivels or snaps.
- Use visual aids, like diagrams or videos, to guide you through tying specific knots. Seeing each step visually can make it easier to understand and replicate.
- Practice tying knots with different line materials and thicknesses. This will help you adapt your technique based on the type of fishing you’ll be doing.
Exploring different types of knots
When setting up a fishing rod, it’s important to explore different types of knots. Here are some easy and strong knots that can be useful for anglers:
- Palomar Knot: This is a recommended knot for its strength and simplicity. It is commonly used to tie fishing line to hooks or lures.
- Blood Knot: This knot is ideal for joining two pieces of fishing line together, creating a strong connection. It works well with lines of similar diameter.
- Improved Clinch Knot: A popular knot for securing hooks or lures, the improved clinch knot is reliable and easy to tie.
- Uni Knot: This versatile knot can be used for various purposes, such as attaching lines to hooks or lures, connecting lines together, or tying on swivels.
- Surgeon’s Knot: When you need to quickly join two lines of different diameters, the surgeon’s knot is a reliable choice. It creates a secure bond between the lines.
Maintaining your fishing gear
Taking care of your fishing gear is essential to ensure its longevity and optimal performance. Regular maintenance not only protects your investment but also helps you avoid any disappointments on your fishing trips.
One important aspect of maintaining your fishing gear is inspecting the hooks regularly. Check for sharpness and any signs of damage that might affect their effectiveness. If necessary, use a file to sharpen the hooks carefully in one direction, ensuring they are ready for the next catch.
By keeping an eye on your gear and taking timely actions like this, you can extend the lifespan of your fishing equipment and enjoy many successful angling adventures without any unexpected setbacks.
In addition to hook inspection, it’s crucial to learn how to line a fishing rod properly and tie knots correctly. The condition of the line plays a significant role in landing fish successfully, so be sure to replace it when needed.
Practicing knot tying will help you become more proficient at securing lures or attaching leaders effectively. As part of maintaining your fishing gear, also consider cleaning and storing it appropriately after each use.
Conclusion
Congratulations! You have now mastered the art of setting up a fishing rod correctly. By following this beginner’s guide, you’ll be able to assemble your rod and reel with ease, thread your fishing pole like a pro, choose the right lure for success, and attach it securely.
Remember to practice your knot tying skills and maintain your fishing gear for optimal performance. Now it’s time to hit the water and enjoy the thrill of fishing!
FAQs
1. What are the basic components of a fishing rod setup?
A fishing rod setup typically consists of a fishing rod, reel, fishing line, and various terminal tackle such as hooks, sinkers, and swivels.
2. How do I choose the right fishing line for my rod?
When choosing a fishing line, consider factors like the type of fish you’re targeting and the fishing environment. Monofilament lines are versatile and suitable for most situations, while braided lines provide greater strength and sensitivity.
3. Do I need to assemble or attach anything to my fishing rod before using it?
Yes, before using your fishing rod, you need to attach the reel by sliding it onto the reel seat on the handle of the rod. Secure it with any provided screws or locking mechanisms.
4. How should I properly set up my bait or lure on my fishing rig?
To set up your bait or lure correctly on your rig, simply tie it securely onto your hook or use appropriate hardware if necessary (e.g., snap swivel). Ensure that it is positioned in a way that mimics natural movement in water.
5. Are there any additional tips for setting up a fishing rod correctly?
Yes! Make sure all knots are tied tightly to prevent them from coming undone during casting or reeling in fish. Also remember to adjust your drag system according to the size and strength of your target species